Uncategorized
How to Make a DIY Backflow Incense Burner at Home: A Step-by-Step Guide
Jan
Introduction: DIY Backflow Incense Burner
Welcome to the world of DIY crafts! Today, we’re diving into the fascinating process of Making a DIY Backflow Incense Burner. These burners are not just functional; they’re a piece of art that adds an aesthetic touch to any room. But what exactly is a backflow incense burner? A specially designed incense holder creates a mesmerizing smoke waterfall effect. The smoke, instead of rising, cascades downwards, creating a soothing and hypnotic visual.
What is a Backflow Incense Burner?
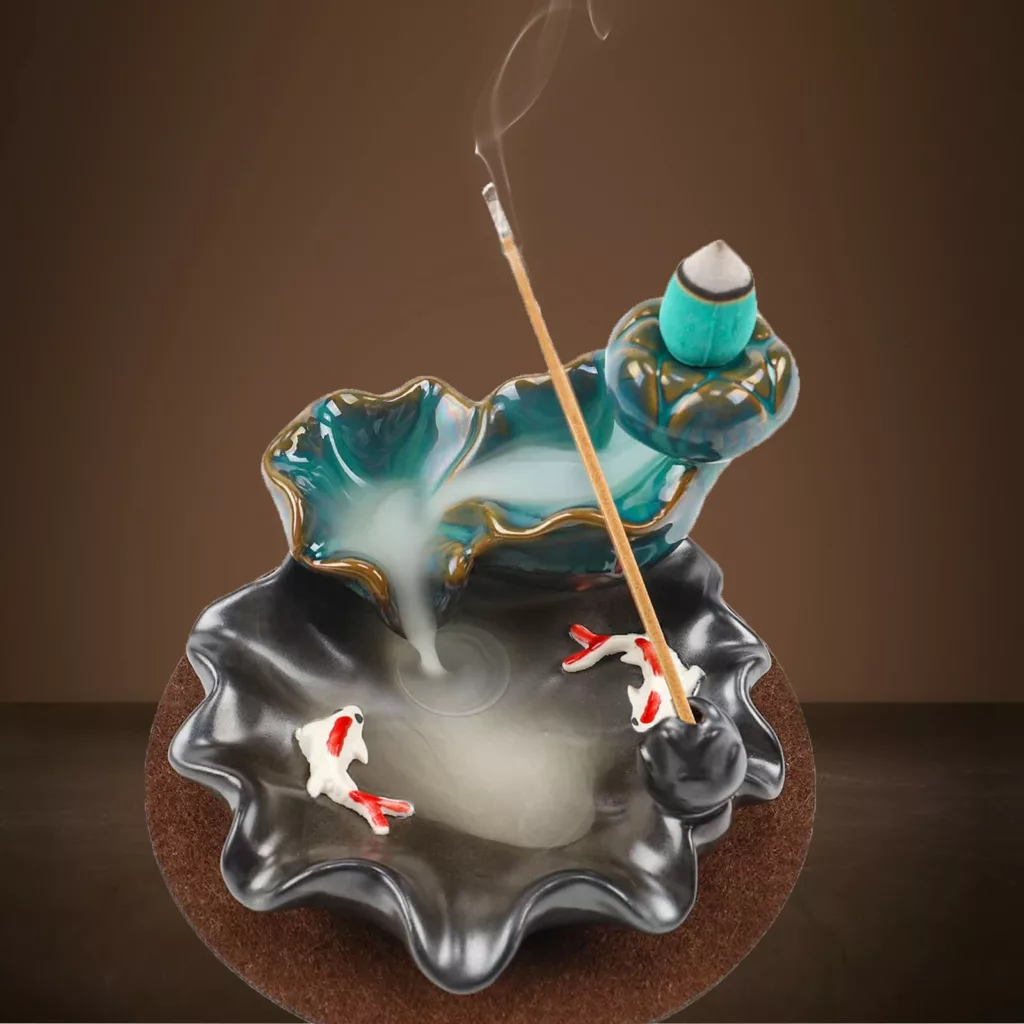
A backflow incense burner is a type of incense holder specifically designed to create a mesmerizing visual effect where smoke cascades downwards, resembling a gentle waterfall. Unlike traditional incense burners, where smoke rises upwards, backflow burners use specially crafted incense cones with a hollow interior. When lit, the smoke is heavier than air, causing it to flow downward along the burner in a smooth stream.
This intriguing phenomenon is not just a play of smoke; it’s a blend of art, science, and craftsmanship. The design of the burner plays a crucial role in directing the smoke flow, often resulting in a captivating display that can mimic natural landscapes or fantastical scenes.


Materials needed for DIY Backflow Incense Burner
To begin your DIY backflow incense burner project, you will require the following materials:
- Clay or Cement: Choose whether you prefer a more traditional clay look or a modern cement finish.
- Molds or Shaping Tools: These are essential for giving your incense burner its unique shape and design.
- Backflow Incense Cones: Specifically designed cones that create the downward smoke effect unique to backflow burners.
- Decorative Elements: Items like paint, stones, and other embellishments to personalize your incense burner.
- Safety Gear: Gloves and a mask are important, especially if working with cement, to protect your skin and respiratory system.
Where to Find Them
These materials are readily available and can be sourced from various places:
- Local Craft Stores: A great place to start looking, especially for clay, paints, and decorative elements.
- Online Platforms: For specialized items like backflow incense cones and specific burner molds, the ZenIncenseHolder platform could be an ideal place to shop. They likely offer a variety of incense cones and possibly unique decorative elements suited for incense burners.
When purchasing from ZenIncenseHolder or any other platform, reading reviews and comparing products is beneficial to ensure you get the best quality materials for your project. Remember, the quality of your materials will greatly influence the outcome of your DIY incense burner.
Step-by-Step Guide to Backflow Incense Burner
Preparing Your Materials
- Gather Materials: Collect all the materials listed earlier. Make sure you have everything you need before you start.
- Prepare Your Workspace: Choose a spacious and well-ventilated area. Cover your work surface with newspapers or a plastic sheet to protect it from spills or stains.
- Wear Safety Gear: Put on gloves and a mask, especially if you are working with cement, to protect your skin and lungs from irritation.
Assembling the Incense Burner
- Shaping the Material:
- If using clay, knead it until it’s pliable. For cement, mix it according to the package instructions until it reaches a good consistency.
- Shape the material into your desired form. This could be a simple bowl, a tiered waterfall design, or any other shape that inspires you. Use molds or shaping tools as needed to refine the shape.
- Be creative! This is your chance to personalize your incense burner.
- Creating the Cone Holder:
- Identify the top of your burner where the incense cone will sit.
- Gently create a small, cone-sized indentation or hole. This is crucial for the backflow effect, as it guides the smoke downward.
- Ensure the hole is not too large; it should snugly fit the base of your backflow incense cone.
- Drying Process:
- Allow your incense burner to dry completely. The drying time will vary depending on the material. Clay might take a day or two to air dry, while cement could take longer.
- If you’re using clay and it’s a thick piece, consider drying it slowly to prevent cracking. Covering it with a cloth can help slow down the drying process.


Safety Precautions
- Handling Materials: Always wear gloves when handling materials like cement or wet clay to avoid skin irritation.
- Dust and Fumes: Work in a well-ventilated area to avoid inhaling any dust or fumes, especially important when mixing cement.
- Clean Up: After you’re done, clean your tools and workspace thoroughly. Wet cement or clay can be hard to remove once it’s dried.


Additional Tips
- Testing: Once your burner is dry, test it with a backflow incense cone to ensure the smoke flows down as intended.
- Decorating: After the burner is completely dry, you can paint or decorate it. Use sealant if necessary to protect your designs.
- Patience is Key: Don’t rush the drying process. Ensuring your burner is completely dry before use or decoration is crucial for the best results.
Creating a DIY backflow incense burner is not just about crafting an item; it’s about enjoying the process of creation. Take your time, be creative, and most importantly, have fun with it!
The Final Product and Use of the Reflux Incense Burner
Using Your Incense Burner
- Placement: Choose a safe and suitable location for your burner. It should be a flat, stable surface away from any flammable materials.
- Lighting the Incense Cone:
- Place a backflow incense cone in the designated holder at the top of your burner.
- Light the tip of the cone and wait until it starts to smoke, then blow out the flame. The cone should emit smoke gently.

- Enjoy the Effect:
- Watch as the smoke cascades down in a waterfall effect, creating a mesmerizing and calming ambiance.
- The scent of the incense can also help in creating a relaxing environment, perfect for meditation or relaxation.
Maintenance
- Regular Cleaning: To maintain both the appearance and functionality of your burner, clean it regularly. Ash from the incense cones can accumulate and block the smoke flow.
- Gentle Cleaning: Use a soft brush or cloth to remove ash residues. If needed, use a mild detergent and water for a thorough cleaning, but make sure to dry it completely before the next use.


Conclusion
Creating your backflow incense burner is an enriching experience that blends artistry with practicality. This project not only results in a unique piece of home decor but also offers the deep satisfaction of having crafted something beautiful and functional with your own hands. It’s a testament to your creativity and a reflection of your style.
Whether you’re looking for a new hobby, a way to de-stress, or simply want to add a personal touch to your living space, making a DIY backflow incense burner is a wonderful project to undertake. It’s a reminder that the best things in life are often those that we create ourselves. So, embrace your creative spirit and give this project a try – you might just surprise yourself with what you can create!